
If you have been out to eat at least once in the last few years, you have likely seen Brown Butter something on the menu. Savoury and sweet chefs' love this ingredient for the nutty, complex flavour it adds to their dishes. There is good reason for chefs' obsession with Brown Butter…it is delicious!!
Beurre Noisette (that is just the fancy French work for Brown Butter) is simply unsalted butter that is cooked to the point that the milk solids in the butter begin to cook and caramelize giving your butter a nutty flavour. In fact Beurre Noisette translates to nut (hazelnut) butter. In traditional French cooking, Beurre Noisette is flavoured with vinegar or lemon juice and herbs and served over fish or veggies. Some classic French pastries, like Financiers, can only be made with Brown Butter.
Brown Butter is simple to make. Simply melt butter in a saucepan over low to medium-low heat (if you have never done this before, start with low heat and be patient). Once the butter gets hot enough, it will start to bubble, sputter and crackle. Pastry Chef Joanne Chang, who is the brilliant mind behind the recipe in this blog, says it sounds like, “an audience of people politely clapping their hands in anticipation of these treats!” You will start to see the milk solids turning brown on the bottom of the pan. At this point, stay close to your pan and keep the mixture slowly moving by mixing with a rubber spatula to keep the butter from burning. Once the bubbling and foam subside the butter will be browned. This usually takes about 5 minutes, but pay attention because it might be 2 minutes and you want brown butter, not black butter!!
Note: In the pictures I have used a dark pan, because I like to use my non-stick aluminum pot to make the Crispy Rice Squares since they are so darn sticky! However, typically when I make Brown Butter I want to use a light coloured pan so that I can better see the colour of the browning milk solids. This is the best way to not overcook (i.e. burn) the brown butter.
I think the best way to convince you of the greatness of Brown Butter is to take a simple recipe and replace the regular butter with Brown Butter just so you can experience how it can elevate a humble recipe. So I present to you Brown Butter Crispy Rice Squares…. the best darn Rice Krispies treats you will ever taste. You will be serving up Beurre Noisette Riz Croustillant to dinner guests! French makes it sound fancy; the Brown Butter and vanilla in this recipe make it taste fancy!
Dyboysia!


Brown Butter Crispy Rice Treats
serves 12
228 g (1 cup) unsalted butter
½ vanilla bean (or 5m/1tsp vanilla extract)
560g (55) plain, large marshmallows
2.5 ml (½ tsp) kosher salt
240 g (9 cups) crispy rice cereal

Have you ever made crispy rice treats that were rock hard when they set (I have!)? The most likely explanation is that the marshmallows were cooked to too high a temperature. Usually this happens when your marshmallows are not fresh, so pick some fresh bags to make these treats!
Line a 9x13-inch baking pan with parchment paper leaving some to hang over the sides of the pan. This will make it easy to remove the square for cutting. You can also butter the pan or spray it with non-stick spray.
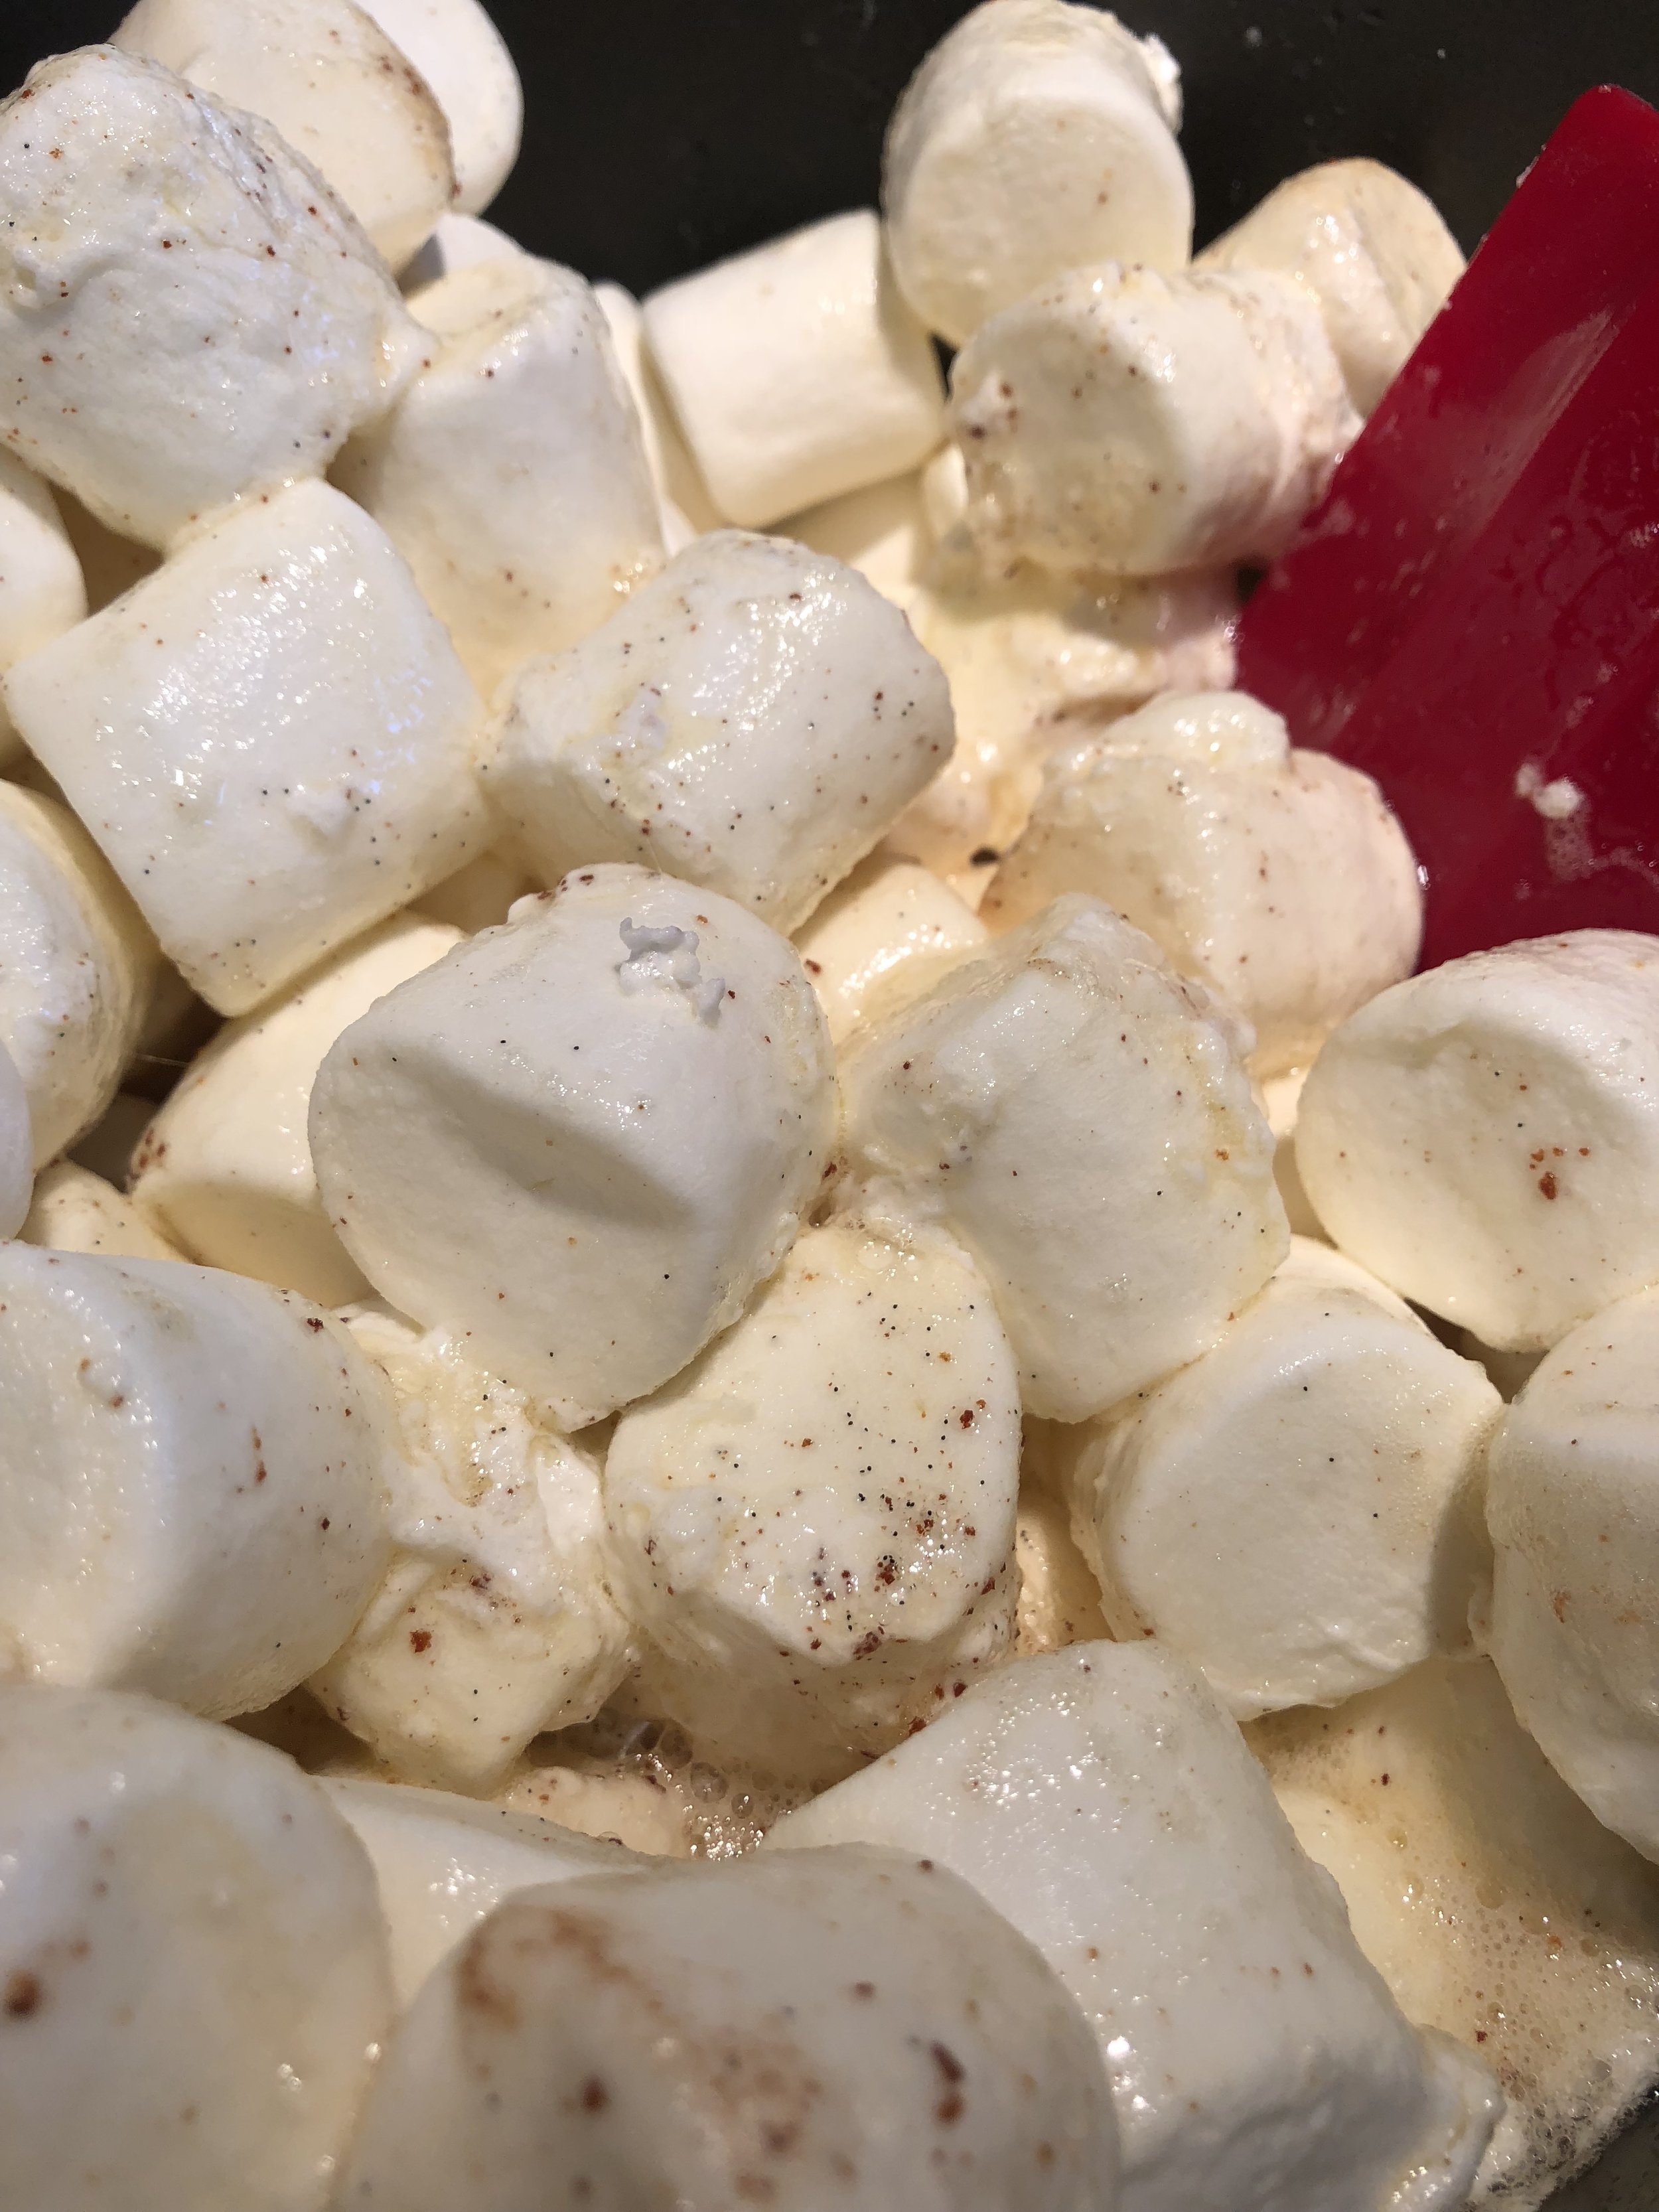
Add the butter to a large saucepan set over low heat. When the butter is mostly melted, scrape the seeds from the vanilla bean into the pan. The butter will begin to bubble and foam. Eventually it will start to turn brown and smell nutty, be patient and watch carefully, it can quickly go from brown to burned.
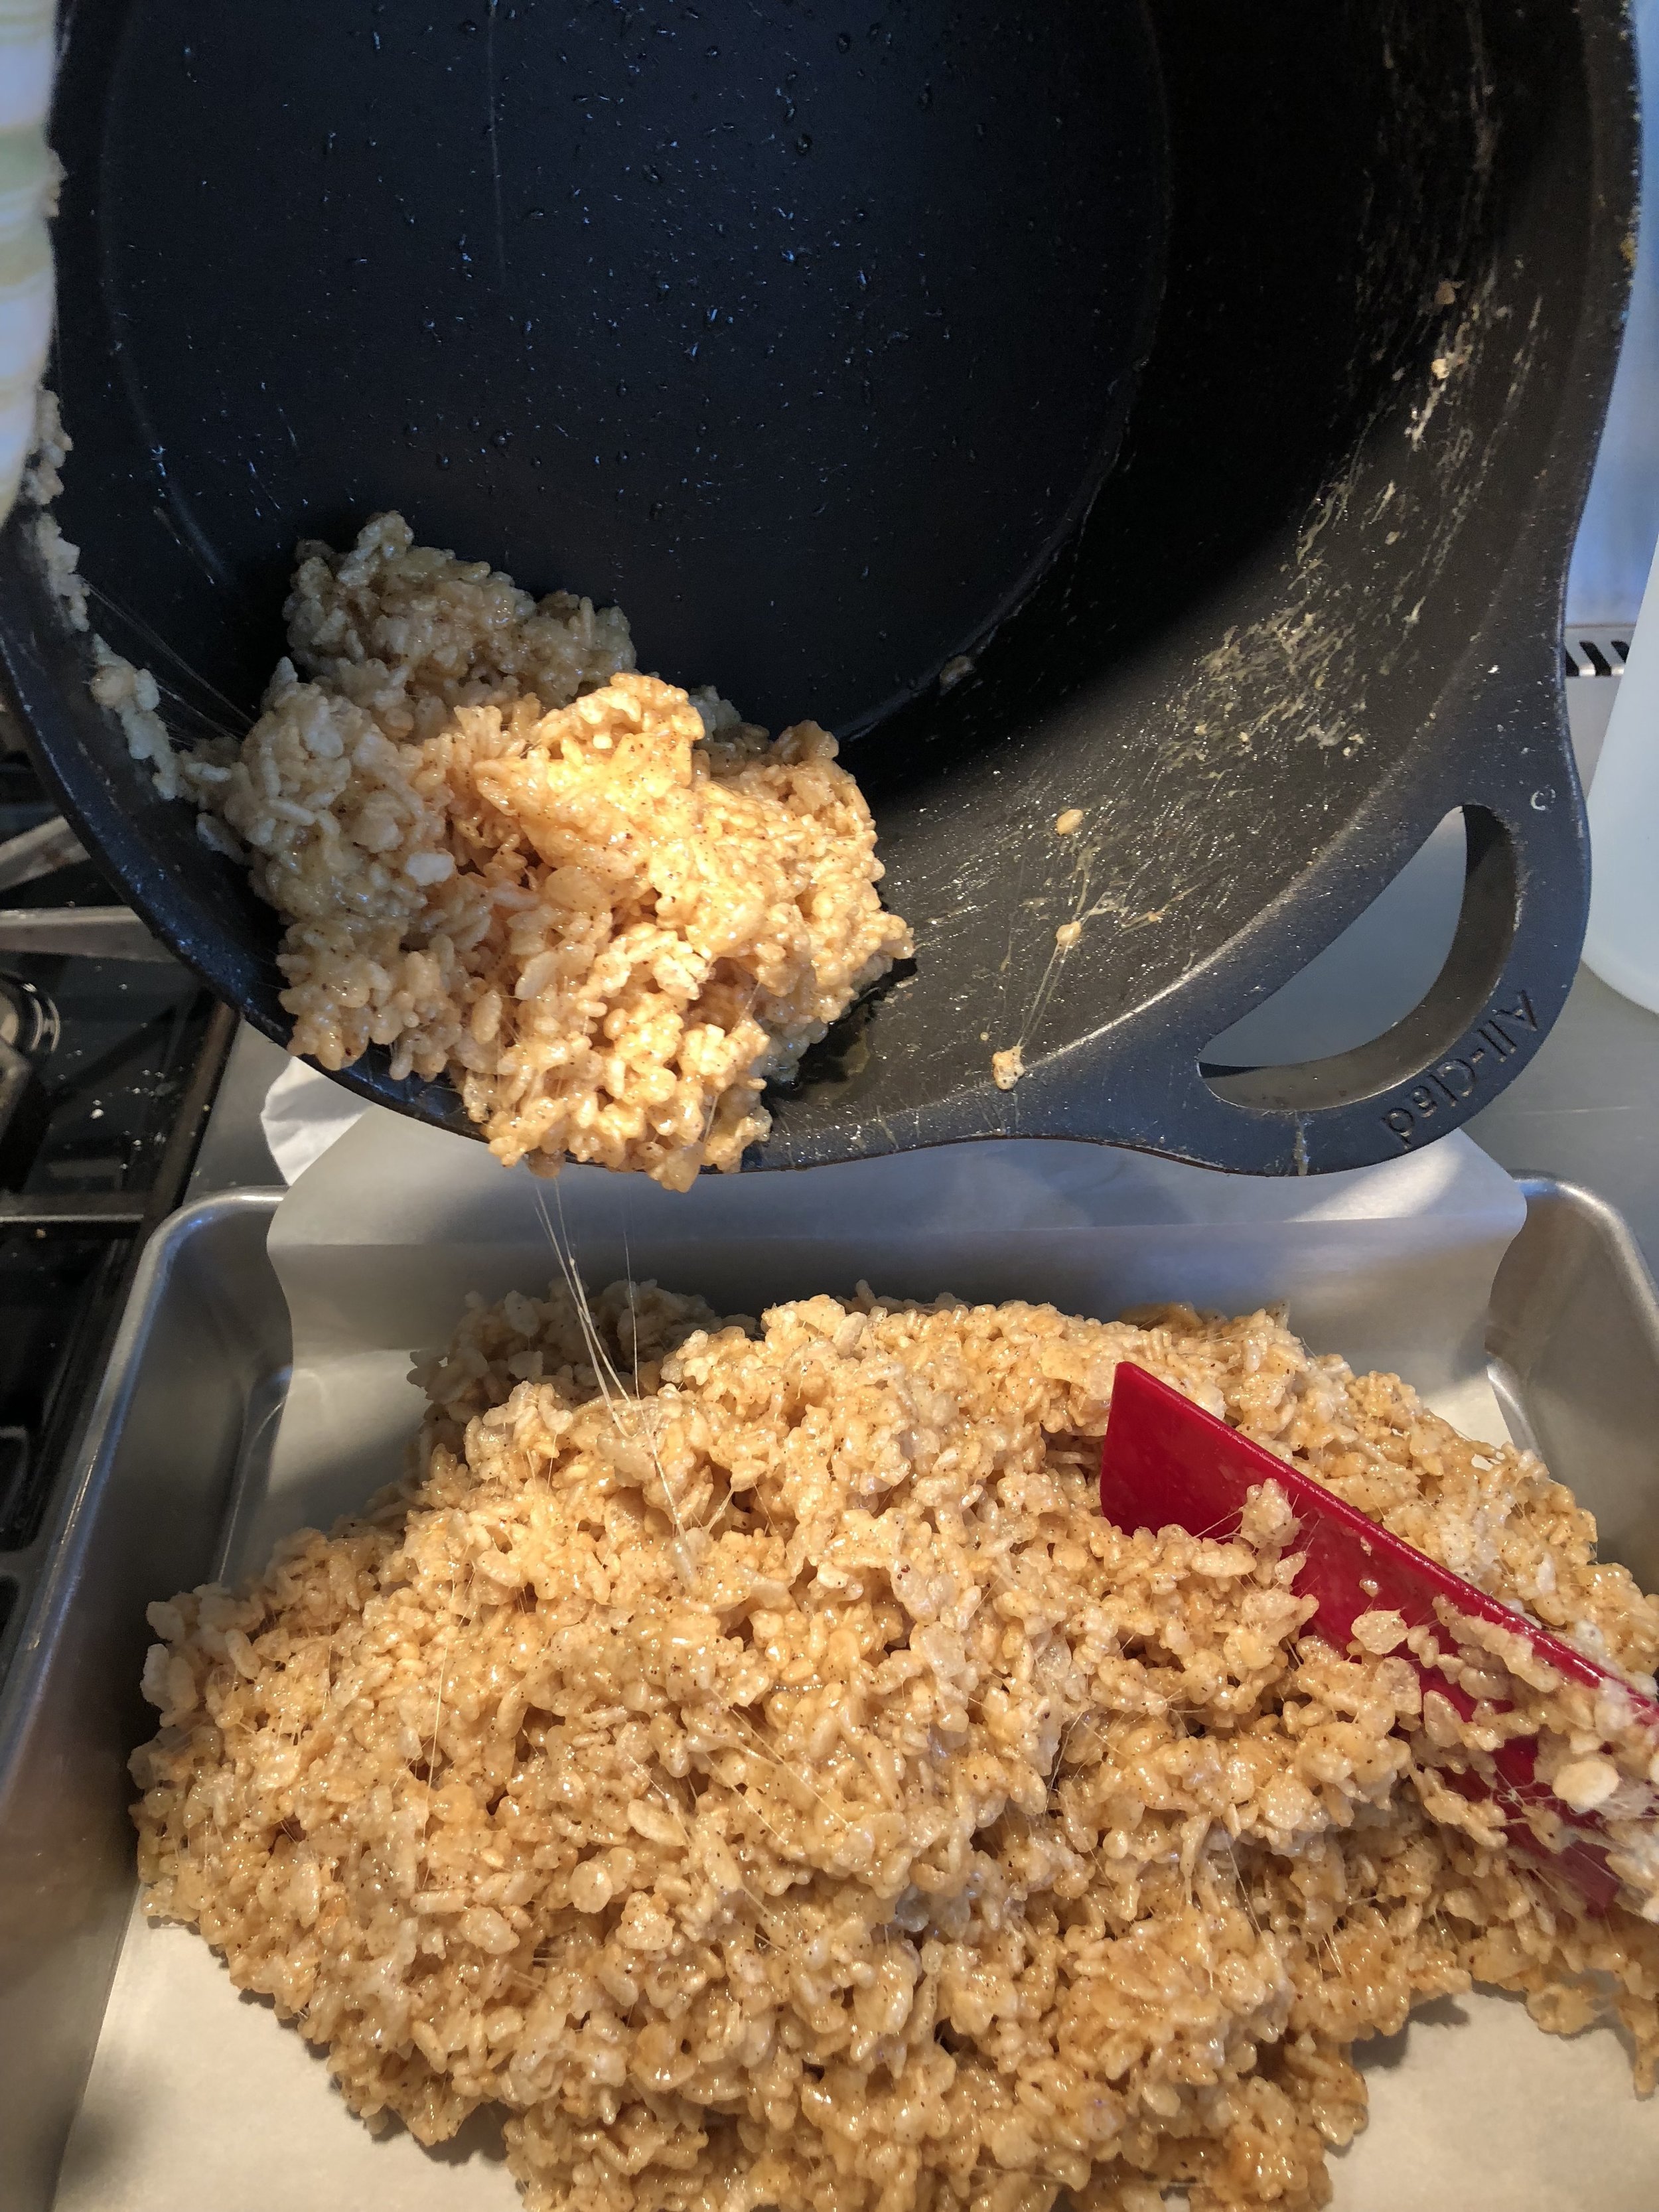
Once the butter is browned, add all of the marshmallows and the salt. Do this immediately to prevent the brown butter from burning. Stir the mixture constantly until the marshmallows are completely melted. Turn off the heat under the pan and add the cereal. Use a rubber spatula to coat the cereal evenly with the buttery, marshmallow liquid. Spread the mixture in an even layer in the prepared baking pan. Let cool for at least an hour before cutting and serving. You can store the squares in an airtight container at room temperature for 2 days.
adapted from Flour by Joanne Chang